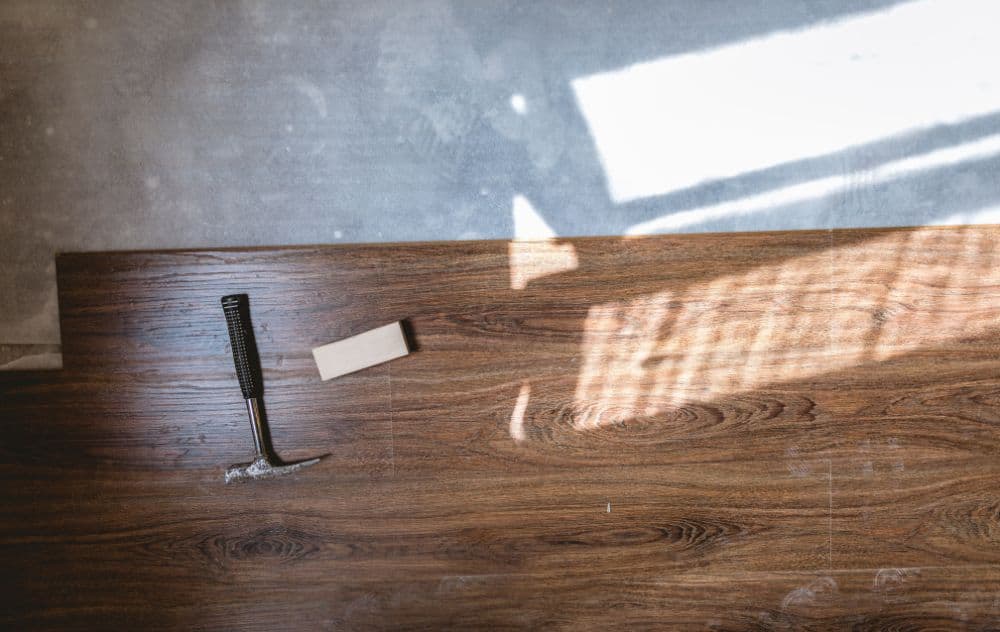
In this article, you will learn all about DIY subfloor replacement. Mobile homes are a popular option for people who want to own their own home but don’t want to deal with the hassle of a traditional home. These homes are typically on wheels and can be moved from one location to another. While they are easy to move, they are not always easy to maintain. One of the most common problems with mobile homes is the floor. Over time, the floor can become damaged and need to be replaced.
First, you need to remove the old trim and flooring, cut out the mobile home sub-flooring, and inspect the joists. After that, you need to put down the new flooring. And that's it! You can enjoy your new flooring.
Contents
- 1 What Is a Subfloor in a Mobile Home?
- 2 List of Necessary Tools
- 3 List of Necessary Materials
- 4 Replacing the Floor: Step-By-Step Instructions
- 4.1 Step 1. Remove the trim and floor covering
- 4.2 Step 2. Cut the subfloor out around the perimeter of the room
- 4.3 Step 3. Cut the subflooring between the joists
- 4.4 Step 4. Inspect and repair joists
- 4.5 Step 5. Add insulation
- 4.6 Step 6. Laying the new subflooring down
- 4.7 Step 7. Install the new floor covering
- 4.8 Step 8. Enjoy your new floor
- 5 FAQ
- 6 Conclusion
What Is a Subfloor in a Mobile Home?
A subfloor in a mobile home is the layer of material that sits below the flooring and above the crawl space. This layer is typically made of plywood and is designed to provide a stable surface for the flooring to rest on and to protect the crawl space from moisture and pests. In some cases, a subfloor may also include insulation to help keep the home warm in the winter and cool in the summer.
Maybe you would be interested: How to Replace Floor Under Toilet in Mobile Home
List of Necessary Tools
When the subfloor in a manufactured home starts to show signs of wear and tear, it is necessary to replace it. Replacing the subfloor is a relatively easy task, but it does require some basic tools and materials. The following is a list of the tools and materials that you will need to replace the subfloor in a mobile home:
- Circular saw;
- Tape measure;
- Pry bar;
- Hammer;
- Chisel;
- Level;
- Paint scraper;
- Paintbrush;
- Construction adhesive;
- Caulking gun;
- Wood screws;
- Nails.
List of Necessary Materials
The first thing you will need is a new subfloor. You can either buy one pre-made or you can build your own. If you choose to build your own, you will need some plywood, a saw, a drill, and screws.
The next thing you will need is a floor adhesive. This is what will hold the new subfloor in place.
Finally, you will need some nails or screws to attach the new subfloor to the floor joists.
Replacing the Floor: Step-By-Step Instructions
Replacing the flooring in a modular home can be a daunting task, but it can be done with a little bit of patience and some common tools.
Step 1. Remove the trim and floor covering
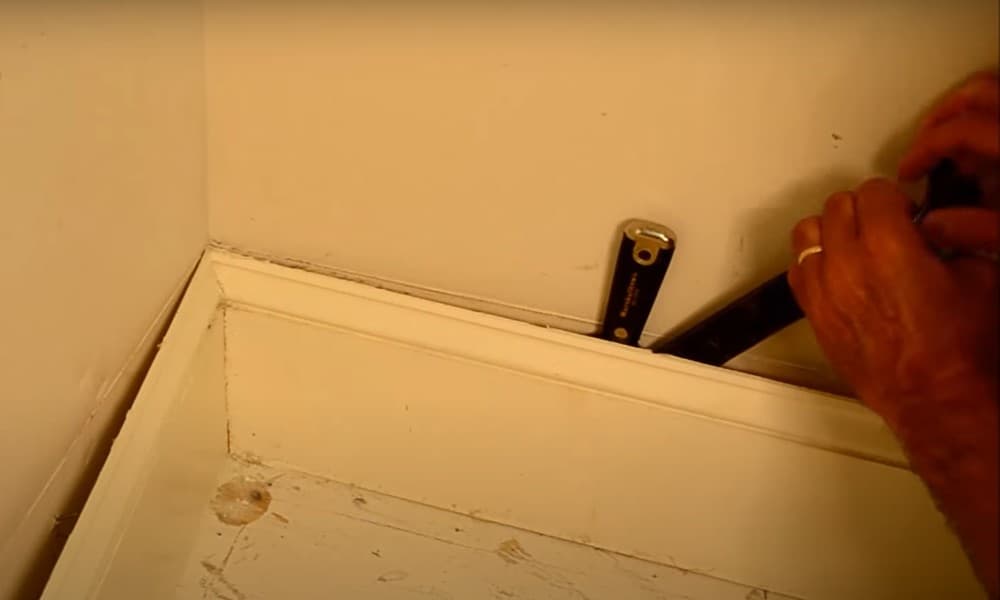
Removing trim and flooring in a mobile home can be a daunting task, but with a little bit of know-how, it can be done relatively easily.
- Begin by removing all of the trim around the door and windows. This can usually be done by prying it off with a screwdriver or a pry bar.
- Next, remove the flooring. This can usually be done by prying it up with a pry bar.
Step 2. Cut the subfloor out around the perimeter of the room
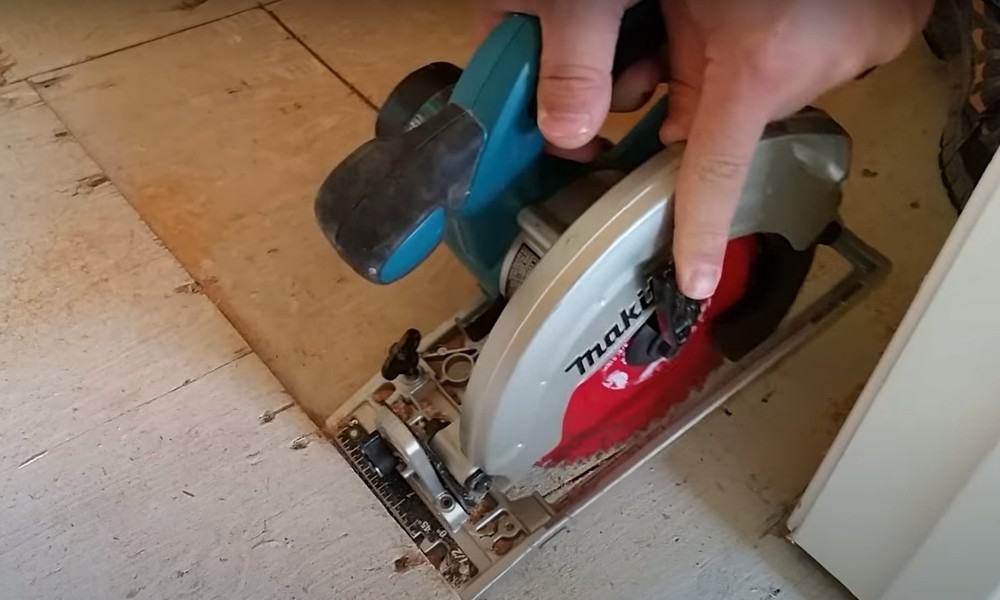
When cutting the subfloor around the perimeter of a room in a mobile home, you will need a straight edge, a circular saw, a hammer, a chisel, and a pry bar.
First, use the straight edge and circular saw to cut the subfloor around the room’s perimeter. Be sure to cut along the lines that were drawn earlier.
Step 3. Cut the subflooring between the joists
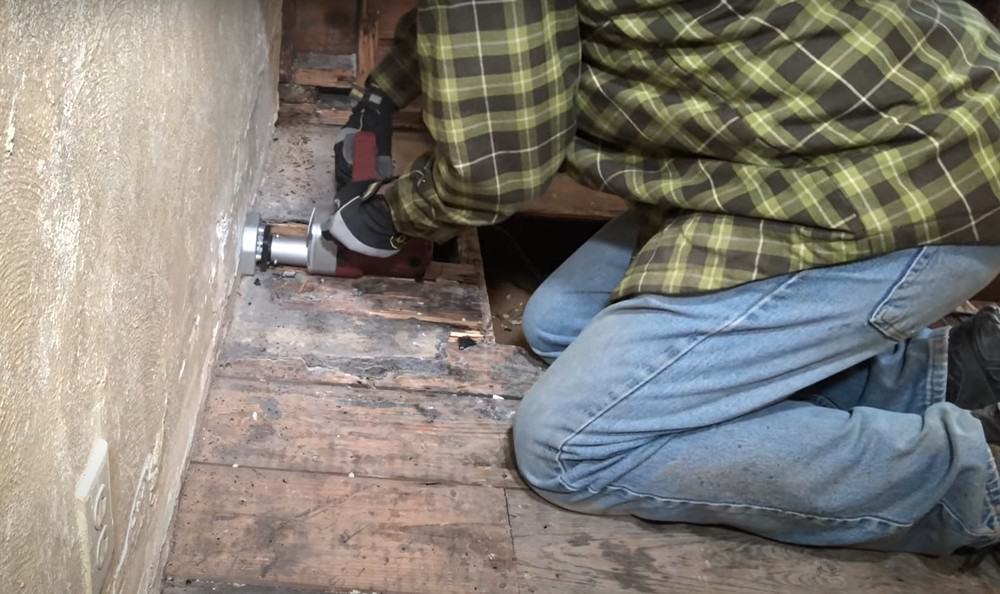
Before starting, make sure you have the necessary tools on hand: reciprocating saw, straight edge, tape measure, chalk line, circular saw, clamps, hammer, nails, and saw horses.
- Determine the location of the cuts. You’ll want to cut the subflooring between the joists so that you can get to the damaged area and repair it.
- Use a reciprocating saw to cut the subflooring between the joists. Make sure the blade is sharp, and the saw is in good condition, or you may have trouble cutting through the subflooring.
- Use a straight edge and tape measure to measure and mark the location of the cuts.
- Use a chalk line to mark the cuts.
- Use a circular saw to cut the subflooring. Make sure the blade is sharp, and the saw is in good condition, or you may have trouble cutting through the subflooring.
- Clamp a straight edge to the subflooring so that it is flush with the edge of the joist.
- Use a reciprocating saw to cut the subflooring along the straight edge.
- Nail a furring strip to the edge of the joist.
Step 4. Inspect and repair joists
When replacing a floor, it is important to inspect and repair any beams that may be damaged. Damaged beams can cause the floor to sag, which can lead to a number of other problems.
The first step in inspecting a beam is to determine its size and material. Beams are typically made of wood, steel, or concrete. Once the size and material of the beam have been determined, the next step is to inspect it for damage.
One common type of damage that can occur to a beam is rot. Rot is caused by water infiltration and can lead to the beam deteriorating and eventually collapsing. If a beam is found to be rotted, it will need to be replaced.
Another type of damage that can occur to a beam is corrosion. Corrosion is the result of a chemical reaction between two or more metals. It can lead to the beam becoming brittle and eventually collapsing. If a beam is found to be corroded, it will need to be replaced.
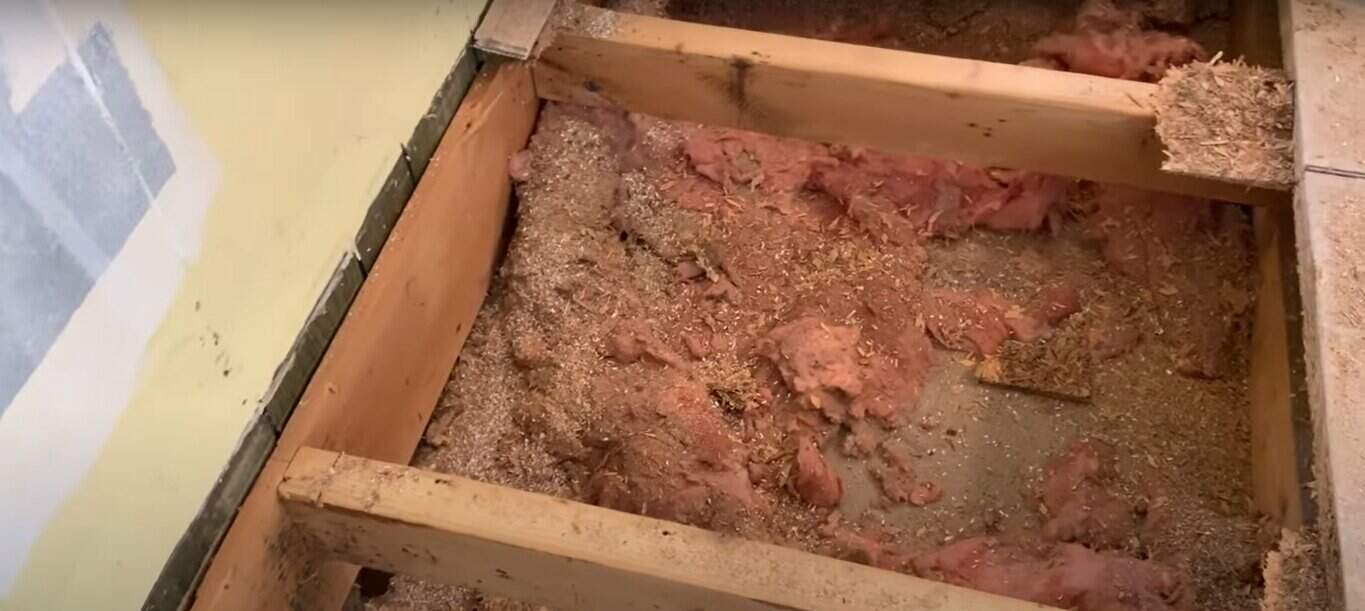
In addition to inspecting the beam for damage, it is also important to inspect it for proper alignment. If the beam is not aligned, it can cause the floor to sag. If the beam is found to be out of alignment, it can be corrected by using a beam hanger.
If a beam is damaged or out of alignment, it will need to be replaced or corrected before the floor can be replaced. Damaged or misaligned beams can cause the floor to sag, which can lead to a number of other problems. By inspecting the beam and repairing any damage, you can ensure that the floor is replaced properly.
Step 5. Add insulation
When it comes time to replace a floor, there are many factors to consider, such as the type of flooring you want and the existing structure of your home. One important factor that is often overlooked is insulation.
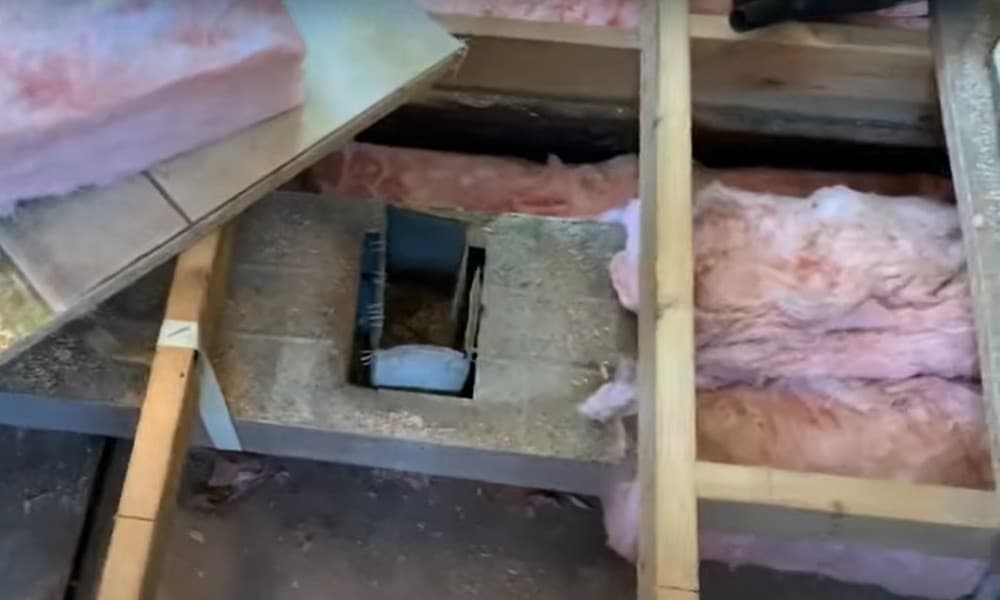
Adding insulation when replacing a floor is a great way to improve the energy efficiency of your home. It can also help to reduce noise from footsteps and other activities.
If the insulation is not already adequate, you may want to add more insulation. This can be done by adding a layer of insulation between the floor joists or by installing insulation under the floor. If you are installing new flooring, you may want to consider installing insulation under the flooring as well.
Step 6. Laying the new subflooring down
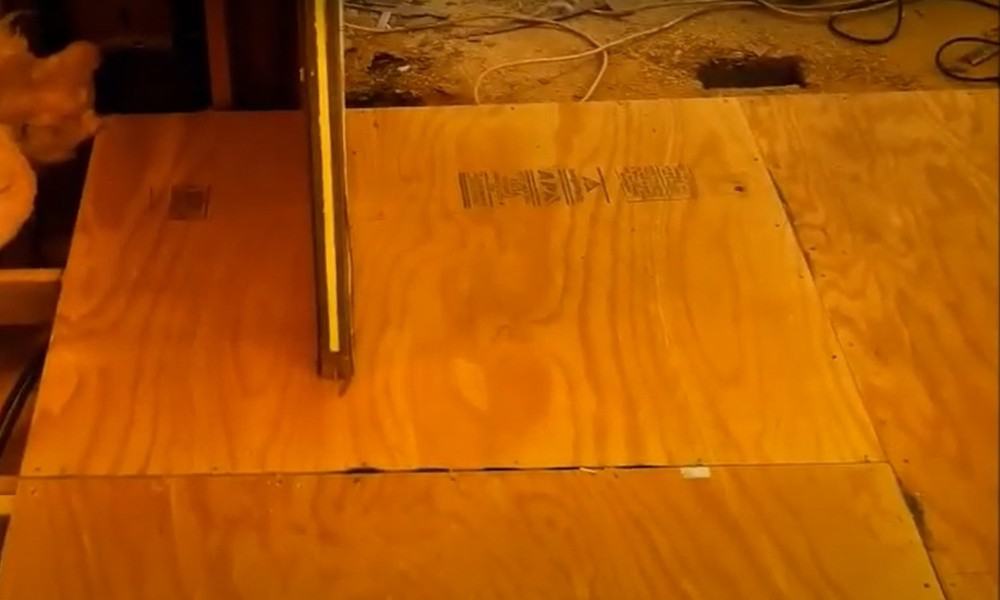
Laying a new subflooring is an important step in any home improvement project. The subfloor provides a solid foundation for the flooring that will be installed on top of it, and it also helps to protect the underlying structure of the home. There are a variety of different types of subflooring materials available, so it is important to choose the right one for the project at hand.
The most common type of subflooring is plywood. Plywood is available in a variety of thicknesses, and it is easy to install. It is also relatively affordable, making it a popular choice for many homeowners. Another option is particleboard. Particleboard is also affordable, and it is available in a variety of thicknesses. However, it is not as strong as plywood, so it may not be the best choice for heavier flooring materials.
Another option is concrete. It is durable and relatively affordable, and it can be installed relatively easily. However, it is important to make sure that the concrete is properly prepared before installing the subflooring. Otherwise, the subflooring may not be able to withstand the weight of the flooring material.
Finally, there are a variety of other subflooring materials available, including vinyl, rubber, and cork. These materials are not as common as plywood or concrete, but they may be a better choice for some applications. Vinyl is a popular choice for kitchens and bathrooms because it is easy to clean and it is resistant to moisture. Rubber is a good choice for homes with pets because it is durable and resistant to scratches. Cork is a good choice for homes with allergies because it is a natural material that does not release any harmful particles.
When choosing a subflooring material, it is important to consider the weight and durability of the flooring material that will be installed on top of it. Plywood is a good choice for most flooring materials, but it is important to choose the right thickness for the project. Particleboard is a good choice for lighter flooring materials, while concrete is a good choice for heavier flooring materials. Other subflooring materials may be a better choice for specific applications, so it is important to consult a professional before making a decision.
Step 7. Install the new floor covering
Begin by positioning the covering in place and then using a staple gun or nails to secure it in place. Make sure to evenly distribute the staples or nails to ensure a secure installation.

Step 8. Enjoy your new floor
Replacing the floor in a mobile home can be a big job, but it’s definitely worth it. By following these tips, you can ensure a successful installation.
FAQ
How thick is the subfloor in a mobile home?
Thickness depends on the wood used, but it’s usually between 1/4 and 1/2 inches. The thicker the wood, the more insulation and higher the quality of the home.
What size subfloor in a mobile home?
In mobile homes, the subfloor is usually thinner than that used in a traditional home. It’s usually between 1/2 and 1 inch thick. Sometimes you can find 3/4 inch plywood, but it’s rare.
What size is plywood for the subfloor in a mobile home?
Plywood is used for the subfloor in a mobile home, but there are also steel sheets that can be used for this purpose. For example, a 4×8 sheet of plywood will cover a 200-square-foot subfloor.
Maybe you would be interested: How to Replace Floor Under Toilet in Mobile Home?
Conclusion
Now you know how to make repair subflooring. Overall, replacing the floor in a mobile home can be a daunting task, but it is a necessary one if the floor is damaged or rotting. There are a few different ways to go about replacing the floor in a mobile home, depending on the severity of the damage and the materials you have available.
