
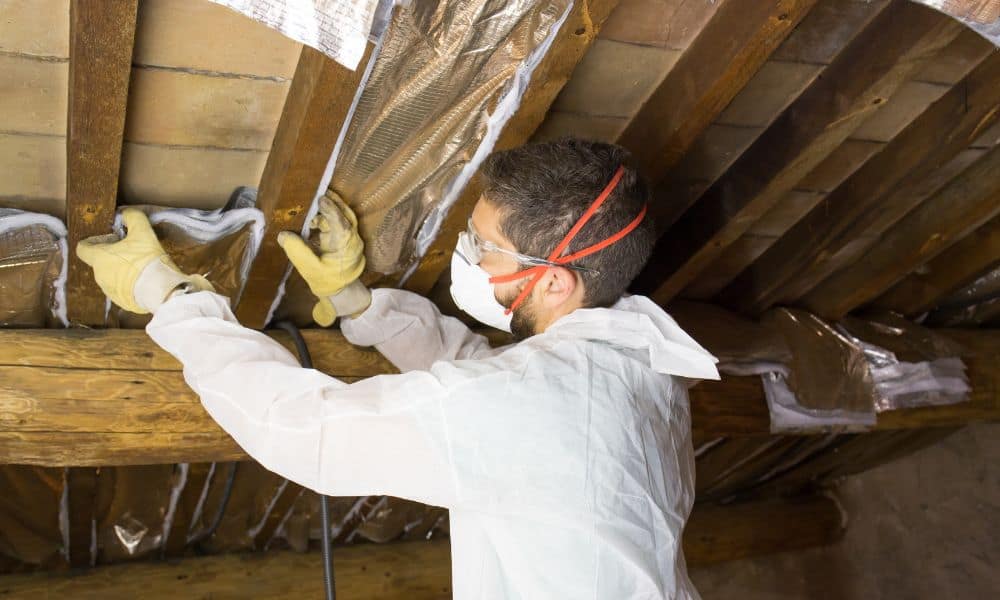
Mobile homes are a popular choice for people who are looking for an affordable option for housing. However, one of the drawbacks of mobile homes is that they can be drafty and uncomfortable in the winter. One way to combat this is to add insulation under the home.
Insulation is a material that is used to prevent heat loss or gain. It is made of materials such as fiberglass, foam, or cotton.
The most important thing is to correctly calculate the amount of material you will need and properly install it with sealant. You can learn more by reading our article.
Contents
- 1 Top Materials to Insulate Under a Mobile Home
- 2 What Type of Insulation Is Used Under a Mobile Home?
- 3 What Does It Take To Insulate Under a Mobile Home?
- 4 Insulate Under the Mobile Home: Step by Step Instructions
- 4.1 Fiberglass
- 4.1.1 Step 1. Measure the area of your floor that you want to insulate
- 4.1.2 Step 2. Purchase enough fiberglass insulation to cover the area
- 4.1.3 Step 3. Cut the insulation to fit the area
- 4.1.4 Step 4. Spread the insulation over the area
- 4.1.5 Step 5. Tape the insulation in place
- 4.1.6 Step 6. Install a vapor barrier over the insulation
- 4.2 Foam
- 4.2.1 Step 1. Measure the area you want to insulate. This will help you determine how much foam you need to purchase
- 4.2.2 Step 2. Purchase the foam insulation
- 4.2.3 Step 3. Separate the backing from the foam and press it into place
- 4.2.4 Step 4. Insulate the rim joist if you have one. This is the area where the floor and wall meet
- 4.3 Step 5. Cut the foam to the size of the area you want to insulate. You can use a knife or scissors
- 4.4 Foamed polystyrene foam
- 4.4.1 Step 1. Decide on the thickness of the foam you need. The most common thickness is 2 inches
- 4.4.2 Step 2. Cut the foam insulation to size with a sharp knife
- 4.4.3 Step 3. Spread the foam on the floor and press it into the cracks and crevices
- 4.4.4 Step 4. Spread the foam
- 4.4.5 Step 5. Tape the seams of the foam insulation with duct tape
- 4.4.6 Step 6. Insulate the rim joist with foam insulation
- 4.4.7 Step 7. Seal the edges of the foam insulation with caulk
- 4.4.8 Step 8. Paint the foam insulation to match the color of your floor
- 4.1 Fiberglass
- 5 FAQ
- 6 Conclusion
Top Materials to Insulate Under a Mobile Home
There are many types of materials that can be used for mobile home belly insulation. The most important factor is to choose a material that will be effective in preventing heat loss and keeping the home warm in the winter and cool in the summer.
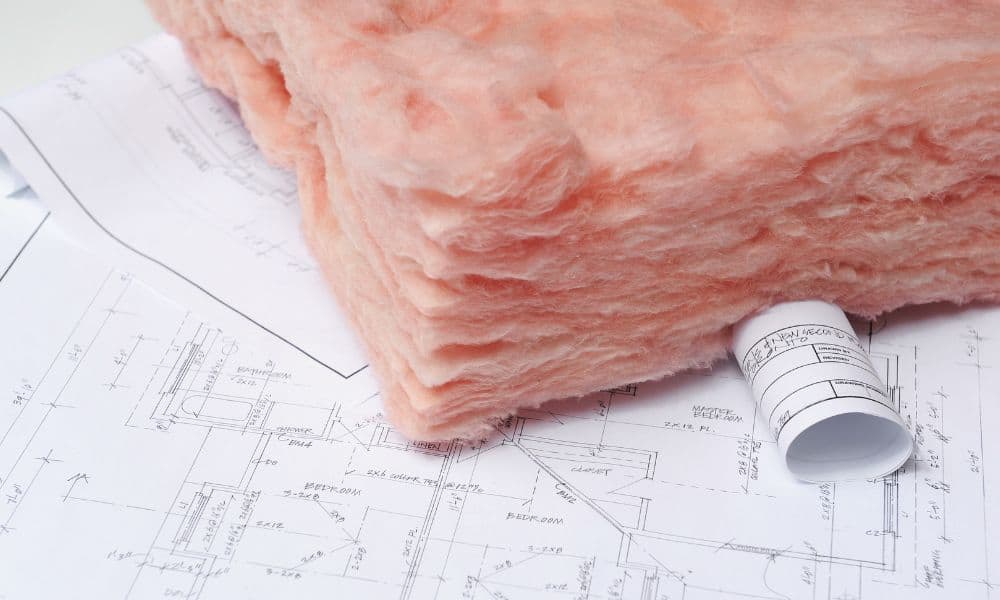
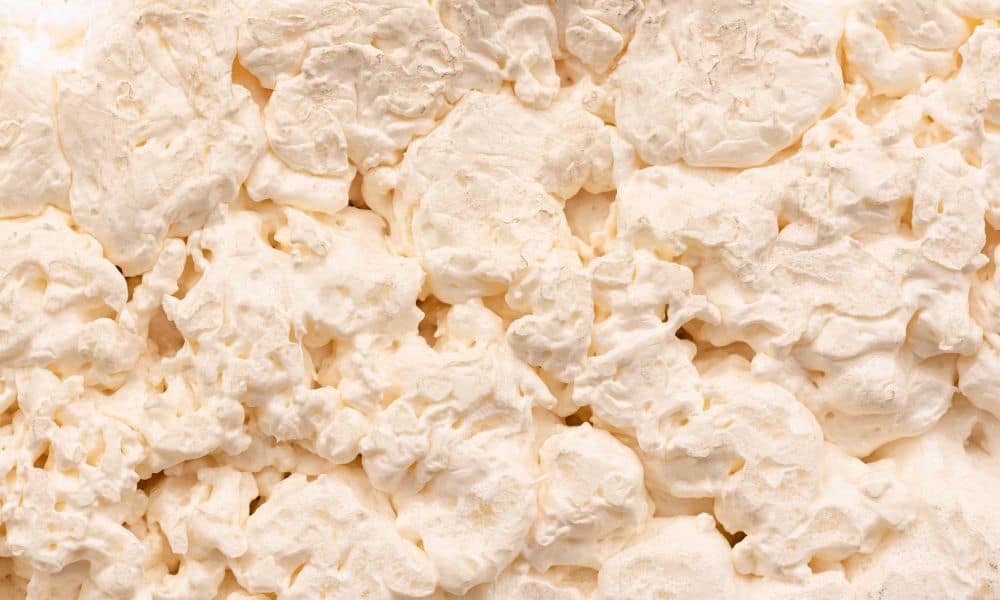
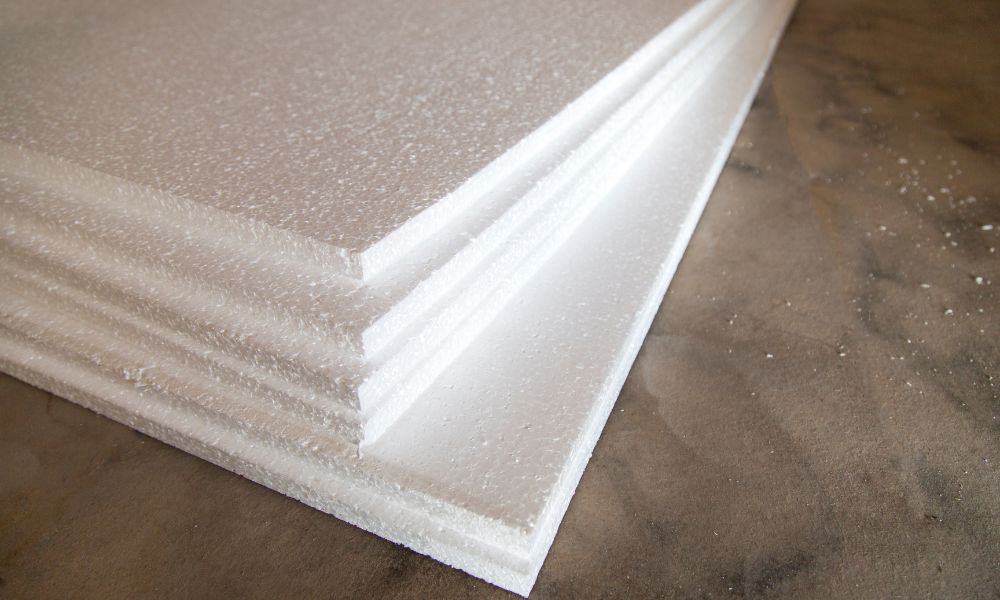
Some of the most popular materials for underbelly insulation include fiberglass, foam board, and cellulose. Fiberglass is made of tiny glass fibers. It is effective in preventing heat loss and is relatively affordable.
Foam board is made of polystyrene, which is a type of plastic. It is effective in preventing heat loss and is also water resistant. Cellulose is made of recycled paper and is effective in preventing heat loss and soundproofing. It is also relatively affordable.
When choosing a material for insulation, it is important to consider the climate where the home is located. If the home is located in a colder climate, then fiberglass or foam board would be the best options. If the home is located in a warmer climate, then cellulose would be the best option.
What Type of Insulation Is Used Under a Mobile Home?
There are a few different options for insulation for under mobile homes. The most common option is using rolls of insulation. The insulation is usually placed between the floor joists. This will help to keep the heat in during the winter and keep the cool air in during the summer.
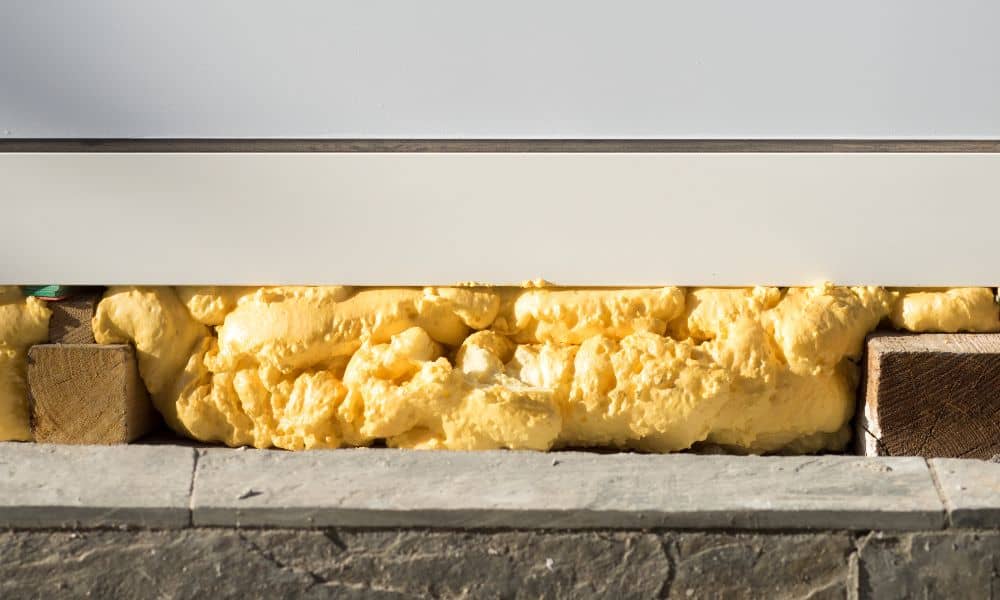
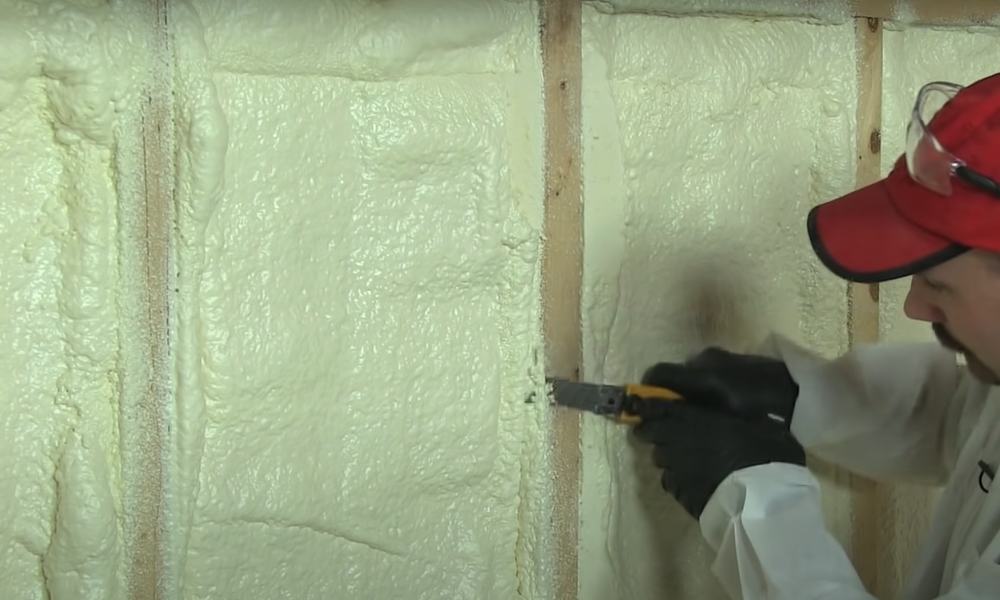
Another option is to use spray foam insulation under the mobile homes. This type of insulation is sprayed in place, and it will fill in any cracks or gaps. It is also a good option for insulating the walls of a mobile home.
Another option is to use rigid foam insulation. This insulation is installed in panels, and it is a good option for insulating the ceiling of a mobile home.
Maybe you would be interested: How to Install a Wood Stove in a Mobile Home
What Does It Take To Insulate Under a Mobile Home?
A couple of the power tools that can be used for floor insulation include a 3-1/2″ or 4″ angle grinder and a 12-gauge wire brush. The floor insulation is accomplished by using a handheld wire brush. The angle grinder is used to remove any old layers of flooring and to smooth out the spot where the insulation will be placed.
Insulate Under the Mobile Home: Step by Step Instructions
Fiberglass
Step 1. Measure the area of your floor that you want to insulate
To measure the area of your floor to be insulated, you will need to know the dimensions of the room and the type of flooring.
To measure the length of a room, measure the distance between the two longest walls. Once you have the room’s dimensions, you can calculate the area of the room by multiplying the width by the length.
To calculate the R-value of the insulation, you will need to know the type of insulation and the thickness of the insulation. The R-value of fiberglass insulation is 3.14 per inch of thickness.

Step 2. Purchase enough fiberglass insulation to cover the area
This can be done at your nearest building supply store.
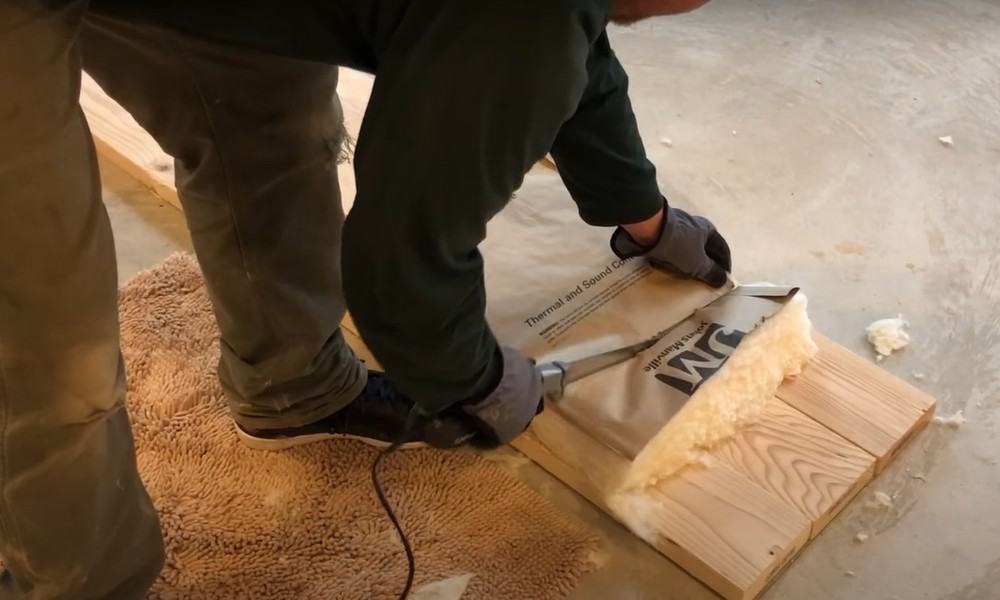
Step 3. Cut the insulation to fit the area
There are a few ways to do this. One way is to use a utility knife. This is a sharp blade that can easily be used to cut through the insulation. However, it is important to be careful when using a utility knife, as it can be dangerous.
Another way to cut the insulation is with scissors. This is a less dangerous option, but it can be more difficult to cut the insulation with scissors. It is important to make sure that the scissors are sharp in order to make the job easier.
The last way to cut the insulation is with a saw. This is the easiest way to cut the insulation, but it is also the most dangerous. It is important to use the correct saw for the job and to be careful when using it.
Step 4. Spread the insulation over the area
Distribute the insulation evenly over the area.

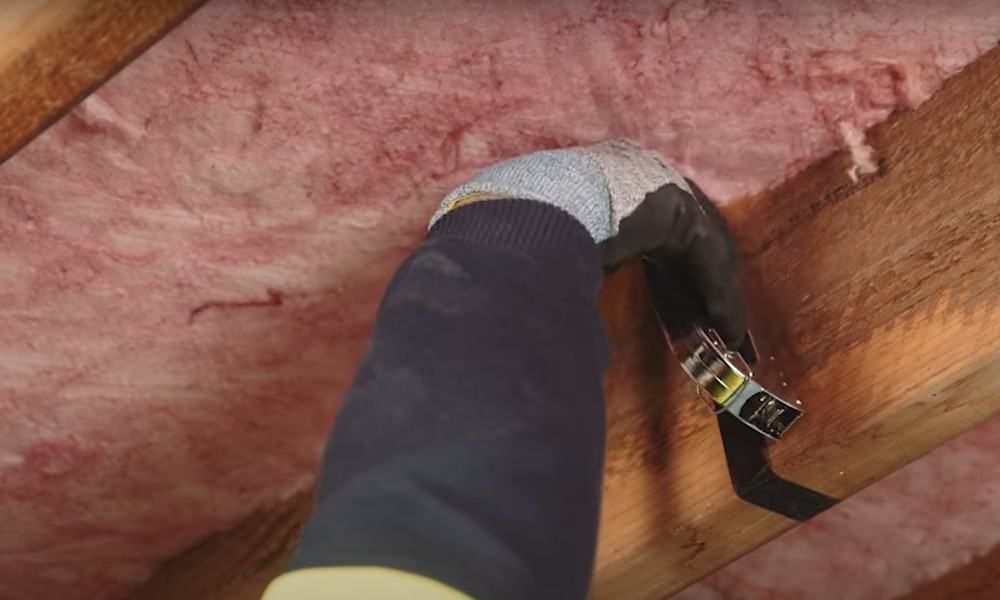
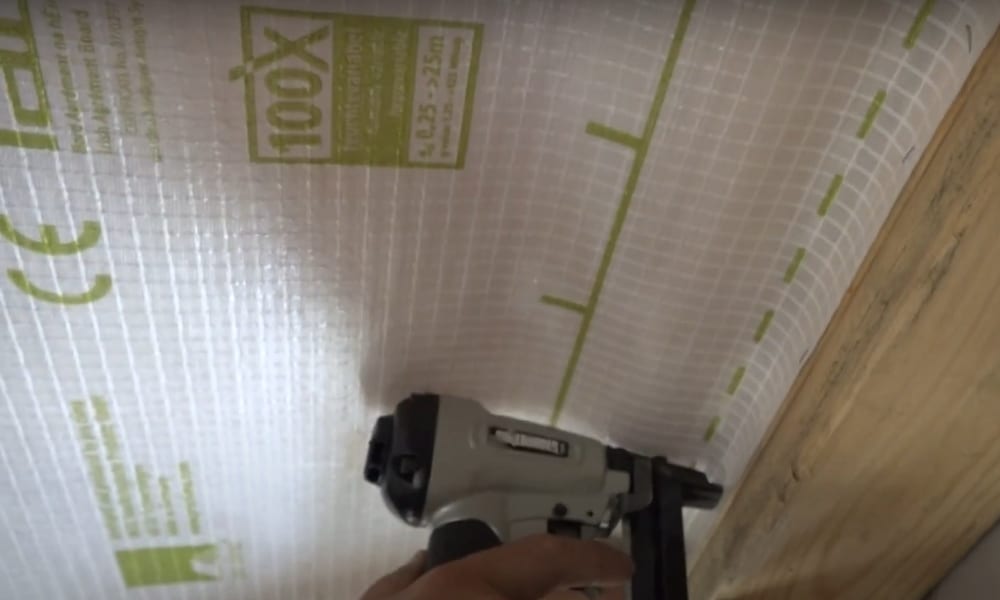
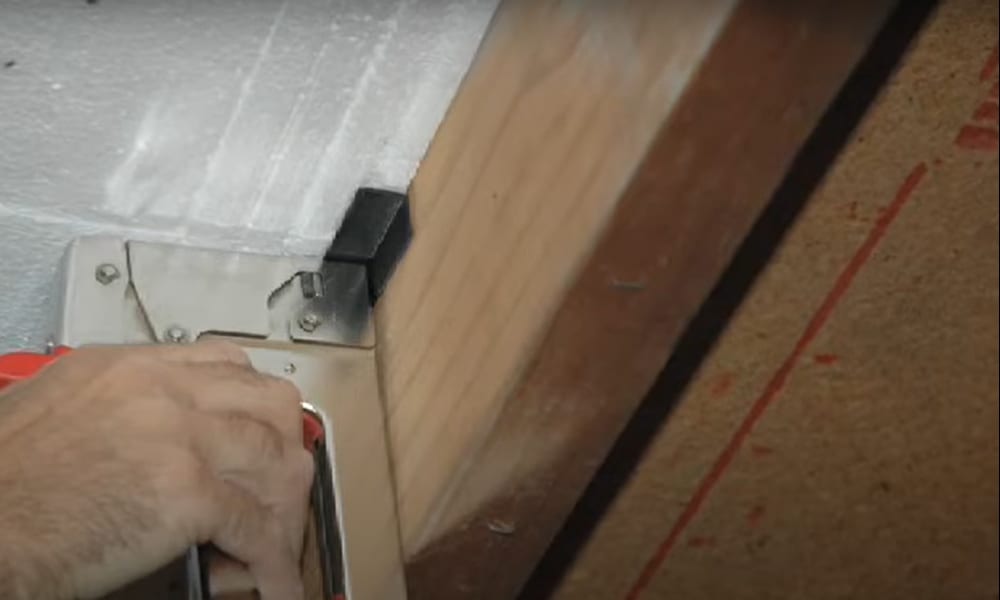
Step 5. Tape the insulation in place
Once you’ve filled the gaps, use tape or a sealant to secure the fiberglass insulation in place. Be sure to use a tape or sealant that is compatible with fiberglass insulation so that it doesn’t damage the material.
Step 6. Install a vapor barrier over the insulation
A vapor barrier is a material that does not allow water vapor to pass through it. This can help to prevent moisture from getting into your insulation and causing it to break down over time. Vapor barriers are typically made of plastic or foil.
If you decide to install a vapor barrier yourself, the first thing you need to do is measure the area you need to cover.
Next, you will need to cut the vapor barrier to fit the space. Once you have the vapor barrier cut to size, you can install it using staples, tape, or another method.
Vapor barriers are an important part of keeping your insulation effective. By installing one, you can help to extend the life of your insulation and improve its performance.
Foam
Step 1. Measure the area you want to insulate. This will help you determine how much foam you need to purchase
Measure the length and width of the area to be insulated, then multiply those numbers to get the square footage. Once you have the square footage, divide it by 400 (the number of square feet in a square meter) to get the number of square meters you’ll need to cover the space.
For example, if you’re insulating a 10-foot by 12-foot room, you’ll need 120 square feet of insulation. Dividing 120 by 400 gives you 0.3 square meters, so you’ll need just over a third of a can of spray foam to complete the job.
Of course, you’ll want to add a little bit of extra insulation to account for any gaps or spaces that you might have missed. A good rule of thumb is to add 10 percent to your total square footage to be safe. So, in our example, you would need to add 12 square feet (10 percent of 120 square feet) to your calculation, giving you a grand total of 132 square feet (or 0.33 square meters) of insulation.

Step 2. Purchase the foam insulation
It is available at most home improvement stores.
Step 3. Separate the backing from the foam and press it into place
Separating the backing from the foam and pressing it into place is not as difficult as it sounds. With a little patience and a few simple tools, you can easily do it yourself.
First, you’ll need a sharp knife or razor blade and a straight edge. Place the straight edge along the edge and run the knife along it to cut through the glue. Repeat this process until all of the backing is separated.
Then fill in the foam and use a rolling pin or your hands to press it into place. Start in the center and work your way to the edges.
If you have trouble getting the foam to stay in place, try using some pins or tape to hold it in place. Once the foam is in place, you can attach a backing if you wish.

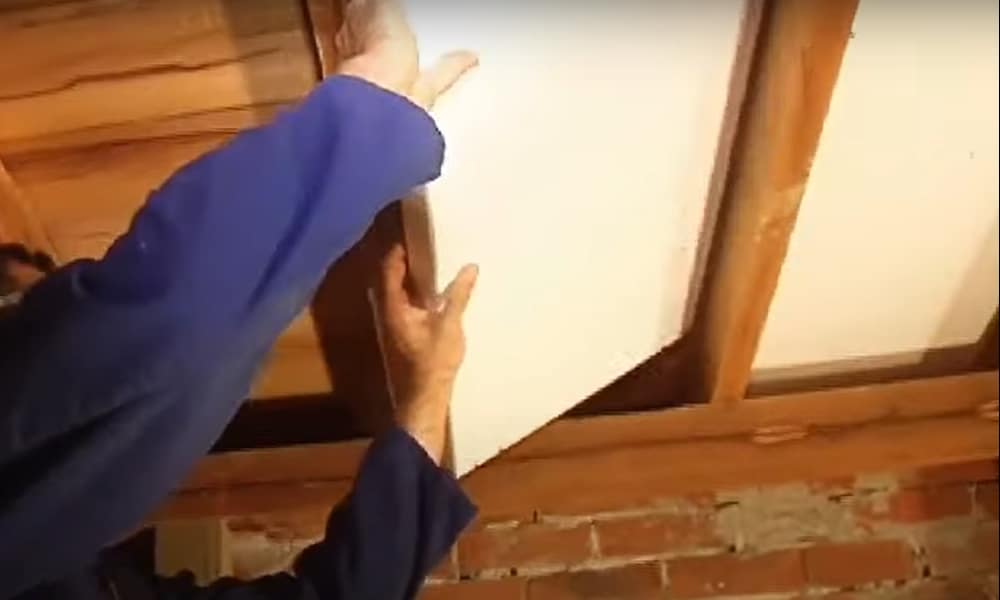
Step 4. Insulate the rim joist if you have one. This is the area where the floor and wall meet
When installing foam insulation between floor joists, you will need to cut the insulation to fit the space between the joists. You can use a sharp knife or a foam cutter to do this. Once the insulation is in place, you will need to seal the seams with caulk or adhesive.
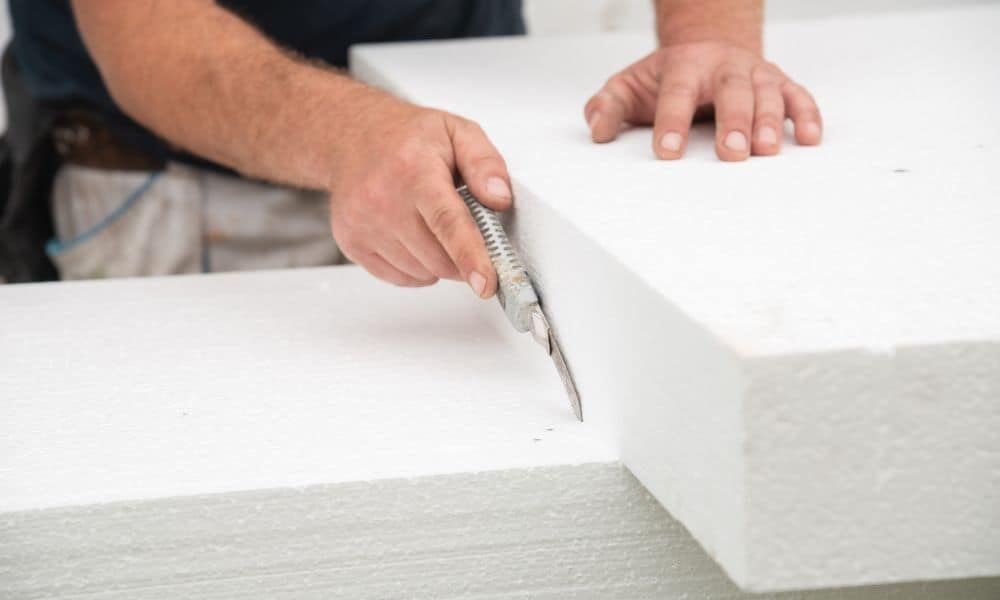
Step 5. Cut the foam to the size of the area you want to insulate. You can use a knife or scissors
Styrofoam is a soft, lightweight material that’s easy to cut, but you’ll need to use the right tools and techniques to get clean, straight cuts.
To cut Styrofoam, you’ll need a sharp knife or a hot wire cutter. A hot wire cutter is the best option if you need to make a lot of cuts, as it will give you a clean, straight cut every time. If you’re only making a few cuts, a sharp knife will suffice.
To cut Styrofoam with a hot wire cutter, start by drawing a line on the foam where you want to make your cut. Then, place the hot wire cutter on the line and hold it in place. Apply pressure to the cutter and move it along the line to make your cut.
To cut Styrofoam with a knife, start by scoring the foam along the line where you want to make your cut. You can use a utility knife or a sharp kitchen knife for this. Once you’ve scored the foam, apply pressure to the knife and slice through the foam.
Step 6. Allow the foam to dry completely before walking on it
It can take a couple of hours or 24 hours.
Foamed polystyrene foam
Step 1. Decide on the thickness of the foam you need. The most common thickness is 2 inches
The R-value of foam insulation is determined by its thickness and density. The thicker the insulation, the higher the R-value. However, the thicker the insulation, the heavier it will be, so you need to consider the weight of the insulation when choosing its thickness.
Another thing to consider is the strength of your floor. If your floor is not very strong, you will need to choose thinner insulation.
The most important factor to consider when choosing the thickness of foam insulation is the climate. If you live in a cold climate, you will need thicker insulation to keep your floor warm. If you live in a hot climate, you will need thinner insulation to keep your floor cool.
Step 2. Cut the foam insulation to size with a sharp knife
A sharp knife is the best tool for cutting the insulation. To cut the insulation, first make a cut in one end of the insulation. Then, hold the insulation against the surface that you are cutting and cut along the surface. Be careful not to cut yourself while cutting the insulation.
Step 3. Spread the foam on the floor and press it into the cracks and crevices
Styrofoam is a great way to seal cracks and crevices in your home. The foam expands, so it fills all spaces and seals them tightly. Simply apply the foam to cracks and crevices and then press it into the cracks with your fingers.
Step 4. Spread the foam
Make sure the foam is evenly spread and that there are no gaps.
Step 5. Tape the seams of the foam insulation with duct tape
Duct tape is one of the best ways to seal the seams of your foamed polystyrene foam insulation. This strong, durable tape will create a tight seal that will prevent any air or moisture from leaking through. Plus, duct tape is easy to apply and remove, so you can easily seal any gaps or cracks in your insulation.
To seal the seams of your foamed polystyrene foam insulation with duct tape, simply apply the tape to the inside of the seam. Start at one end and work your way along the seam, pressing the tape firmly into place. Make sure that the entire seam is covered with tape and that there are no gaps or air bubbles. Once the duct tape is in place, trim off any excess with a sharp knife.
With the seams of your foamed polystyrene foam insulation sealed, you can rest easy knowing that your modular home is well-insulated against the elements. This inexpensive and easy-to-use insulation method is a great way to save money on your energy bills and keep your home comfortable all year long.
Step 6. Insulate the rim joist with foam insulation
Install the foam insulation between the beams with construction adhesive, screws, or stapler.
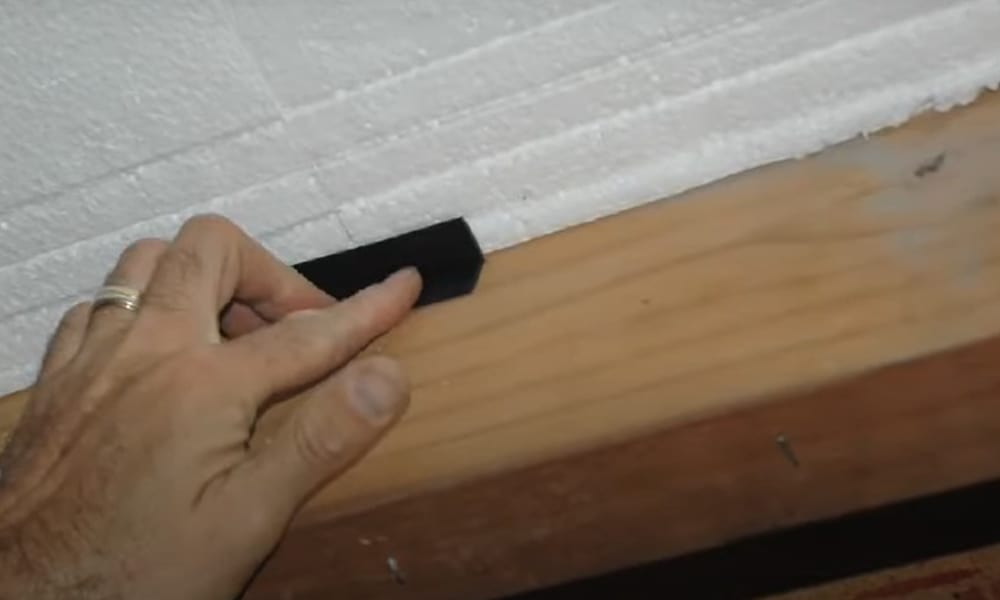
Step 7. Seal the edges of the foam insulation with caulk
Most people think of caulk as something you use to seal around your bathtub or windows, but it can also be used to seal the edges of foam insulation. Sealing the edges of foam insulation with caulk is a great way to prevent air and moisture from getting in and ruining your insulation.
Caulk is a flexible, waterproof sealant that comes in tubes or cartridges and is applied with a caulking gun. It is available in different colors, but clear or white caulk will work fine for this application.
To seal the edges of foam insulation with caulk, first cut the foam to the size you need and then apply a bead of caulk around the edge. Make sure the bead is even and smooth, then press the foam into place and hold it there for a few seconds to allow the caulk to set.
If you need to seal multiple pieces of foam together, you can do so by applying a bead of caulk to one piece and then pressing the two pieces together. Again, hold them in place for a few seconds to allow the caulk to set.
Once the caulk has been set, you can trim off any excess with a knife or razor blade. And that’s it! Your foam insulation is now sealed and protected from air and moisture.
Step 8. Paint the foam insulation to match the color of your floor
Before you start painting the insulation, you’ll need to make sure that it is clean and free of any dirt or dust. You can do this by using a vacuum cleaner or a broom. Once the insulation is clean, you can begin painting it.
If you’re using spray paint, you’ll need to make sure that the insulation is wet before you start painting. This will help the paint to adhere to the surface of the insulation. You should also make sure to apply the paint in even strokes and avoid painting too thickly. If you do, the paint may start to drip or run.
It’s important to allow the paint to dry completely before you start using the insulation. In most cases, it will take several hours for the paint to dry completely. Once it’s dry, you can start using the insulation as usual.
FAQ
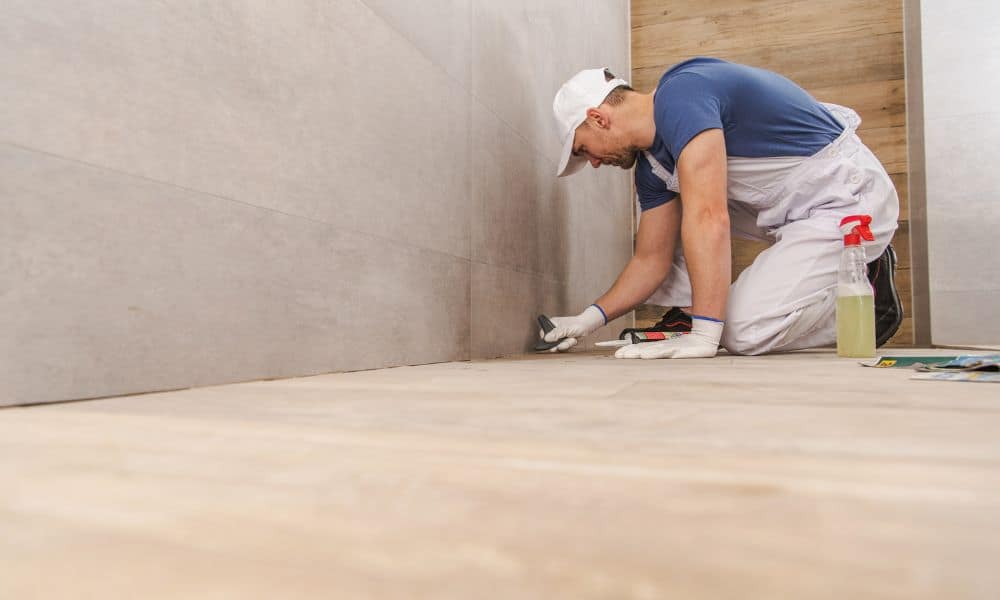
Should I insulate my mobile home skirting?
The mobile home baseboard is made of thin aluminum, which is designed to be lightweight. While this material is very lightweight, it is also very thin, which means that it is not the best insulator. Because of this, it is recommended to insulate the baseboards in the mobile home.
How to secure foam board insulation?
Foam board insulation is easy to secure. The easiest way is to use a staple gun to secure it to the wall. Otherwise, you can use adhesives and tapes.
Can you insulate under your mobile home?
If you have an older mobile home, you may have noticed that it’s prone to heat loss during the winter and heat gain during the summer. Newer homes have much better insulation, and you can have your home professionally insulated. If you have an older home, you can insulate under the mobile home with spray foam. Spray foam insulation is sprayed into the floor joist and walls, which insulates your home and reduces heat loss and heat gain.
Maybe you would be interested: How to Buy a Mobile Home in California?
Conclusion
Overall, insulation under a mobile home is important for a number of reasons. It helps to keep the home warm in the winter and cool in the summer, which can result in lower energy bills. It can also help to protect the home from pests and moisture damage.